The Ultimate Guide to Ombre Nails: Brush vs. Sponge – Which Technique is Best for Beginners?
Share
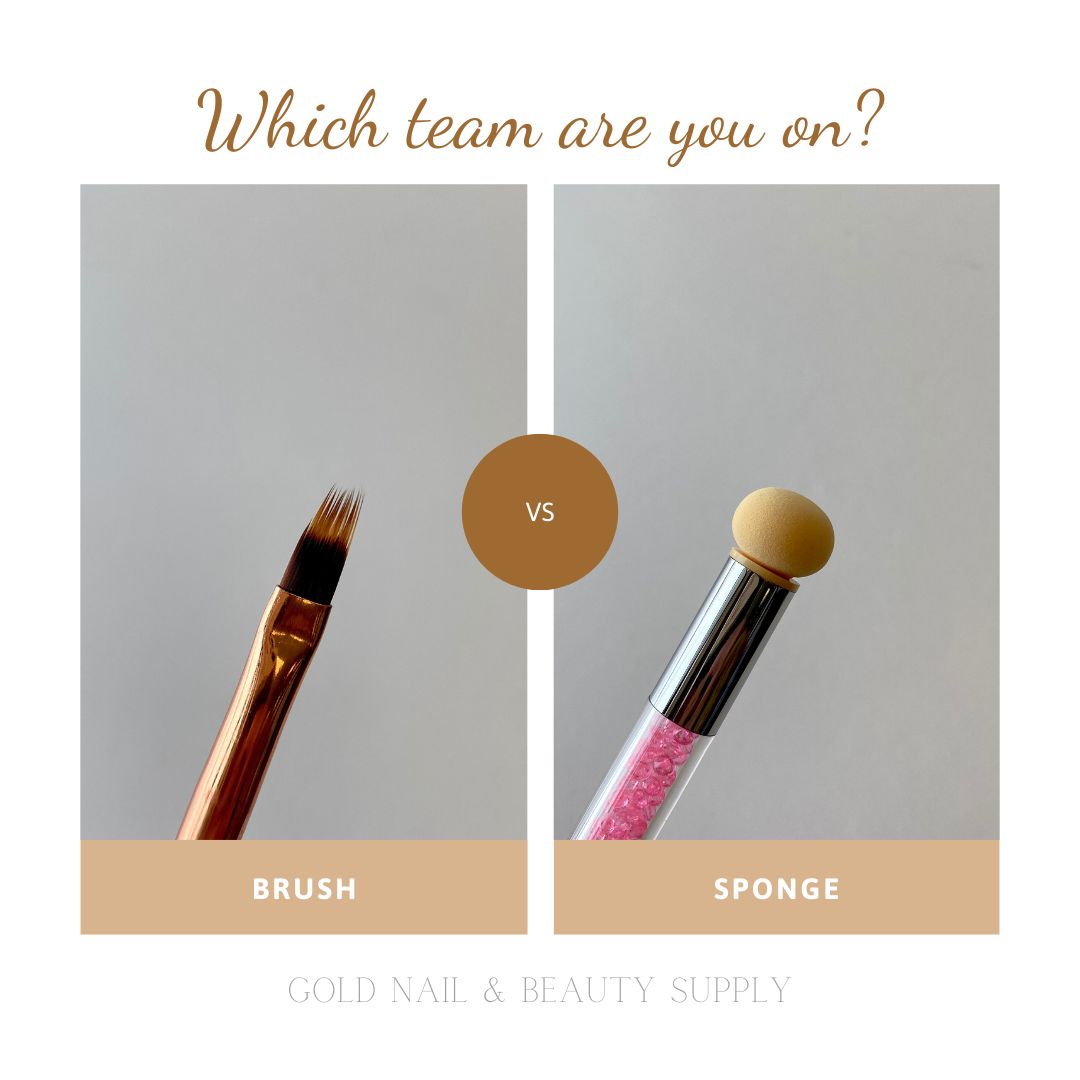
When it comes to creating stunning ombre nail art, the blending technique is key to achieving a smooth and flawless gradient. Two popular tools used for this purpose are brushes and sponges. Both have their pros and cons, and understanding the differences can help you choose the best method for your nail art style. In this post, we’ll break down the brush vs. sponge debate to help you decide which one is perfect for your ombre nails.
What is Ombre Nail Art?
Ombre nails feature a seamless gradient where one color fades into another, creating a beautiful, multi-dimensional look. Whether you’re a beginner or a professional nail artist, ombre techniques can elevate any manicure. The right tool for the job can make all the difference.
The Brush Technique: Pros and Cons
Pros:
- Control & Precision: A brush allows for more control when applying the colors. It’s great for beginners who are still learning the art of blending.
- Detailed Designs: Brushes can be used for more intricate designs or when you want to add fine details along the gradient.
- Versatility: Brushes come in various shapes and sizes, allowing you to experiment with different ombre effects.
Cons:
- Requires Skill: Achieving a smooth gradient with a brush takes practice. It’s easy to end up with streaks or harsh lines if not blended properly.
- Time-Consuming: The process of carefully layering the colors and blending them can take longer than other methods.
The Sponge Technique: Pros and Cons
Pros:
- Effortless Gradient: A makeup sponge (or nail sponge) allows for easy blending. The sponge absorbs the excess polish and leaves behind a smooth, seamless ombre effect.
- Faster Application: Sponges can cover a large area quickly, making them ideal for beginners who want to speed up their nail art process.
- Even Coverage: The porous texture of the sponge helps apply an even layer of color, reducing the chances of streaks or uneven lines.
Cons:
- Less Precision: While sponges provide an easy blend, they lack the precision of a brush. This can be challenging when working with detailed nail designs.
- Messier: Sponges can create more mess, especially when using multiple colors. You may need to clean up around the nail edges more frequently.
Which Tool Should You Choose?
-
For Beginners: If you’re just starting out and want a quicker, more forgiving method, the sponge technique is likely your best bet. It’s easier to use and gives smoother results with less effort.
-
For Experienced Artists: If you’re looking for a more controlled, customizable ombre effect, a brush may be the better option. It allows for greater precision, but it requires more practice to master.
Tips for Perfecting Your Ombre Nails
- Use Quality Products: Ensure you’re using high-quality nail polish to achieve the best results. Choose colors that blend well together.
- Patience is Key: Whether using a brush or sponge, take your time to blend the colors thoroughly for a seamless ombre effect.
- Practice: The more you practice, the better your technique will become. Don’t be discouraged by initial mistakes!
Final Thoughts: Brush vs. Sponge for Ombre Nails
Ultimately, both tools have their advantages, and your choice will depend on your experience level and the look you’re going for. Beginners in Canada will likely find the sponge technique easier to master, while those looking for precision may prefer using a brush. Either way, ombre nails are a beautiful and customizable art form that anyone can enjoy creating with the right tools.
By following these tips and understanding the strengths of each tool, you’ll be on your way to creating stunning ombre nails in no time!